This continues from Part II
Eaglehawk Neck
Finally, six weeks after the Southport attack, on 26th March, a Telegraphic Message was received from Port Arthur that Signals had been received from Eaglehawk Neck. A boat had been sighted, heading for Maria Island. George King was convinced it was the escapees’ boat but had no vessel free to send after them.
On 4th April, the “Shamrock” was sent from George Town, this time to the east coast, to intercept the escapees.
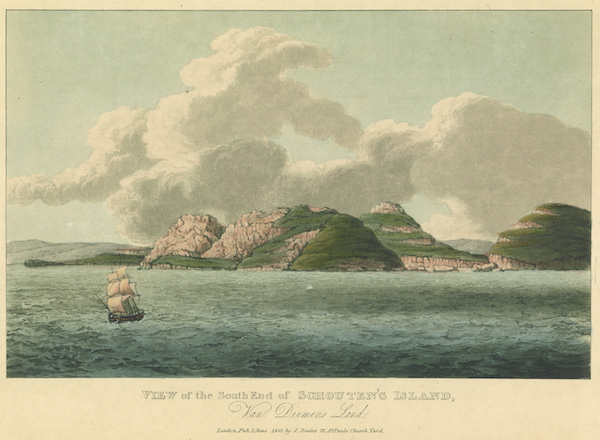
Maria Island and The Schoutens
During that interval the escapees had continued moving northwards up the east coast. They spent a night with settler, Mr Budd, on Maria Island and then headed northwards towards Schouten Island.

On 1st April, between 10 and 11 pm, the men appeared at Swanwick, near The Schoutens (the previous name of the Freycinet Peninsula), calling on a property owned by Robert Hepburn.
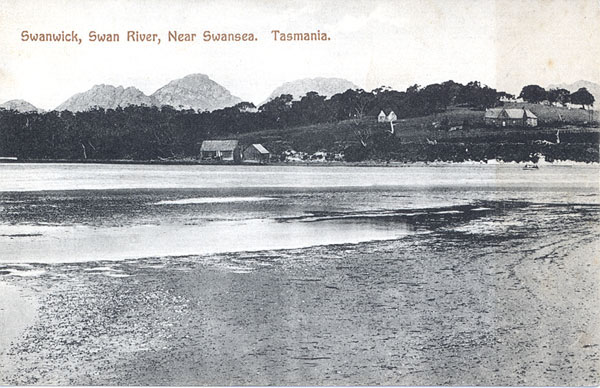
The next day, Hepburn’s overseer, William Thornton gave evidence to the Police Magistrate at Waterloo Point (now Swansea). He said, “a Firelock was pointed”. Mr Walker and three men pushed in pointing guns at Thornton and Hepburn’s son. The escapees were given provisions, blankets, soap, a pea jacket and other clothes, as well as onions, salt and “fat eggs”. They also took a double barrelled fowling piece, other guns, a watch and a dagger, which was later left behind on the road. They called at the pigsty and killed and collected three pigs and six fowls. (Their boat must have been fully laden after this visit!)
Back on the coast, they smashed the settlers’ boats to prevent pursuit. One of the party, “Wolf” had been shot in the head and the back.
“They committed no outrage on anyone. They were very civil,” (Thornton’s evidence, quoted in Brand, 1991.)

“The leader of the time sat and smoked his pipe and conversed with my son. He had two men stand sentry over my son and two others sentry over the two men in the hut while the remaining four robbed the place (Captain Robert Hepburn, in Brand).”
Determined Men
While the escapees were civil, Hepburn advised the authorities not to underestimate them:
“If these men are to be taken, the Cruiser must have two good whale boats, attached to her, and a Jolly boat for by their cool and civil manner to my son he is certain they are determined men.”
Immediately a detachment was sent up the coast, believing the men to be headed for Bass Strait.
Still at The Schoutens
There was a report of another encounter at the Schoutens, this time at the hut of Mr Webber. And now, for the first time, there was a suggestion that the journey was taking its toll.
At nine pm on 2nd April, five armed men came into Mr Webber’s hut. They left at 12, taking food and a gun.
“They said their Boat was so shook by a Gale of Wind that she was not Seaworthy and that they had only two oars.” (Lt Bayley, Waterloo Point).
The men were enquiring about other boats around the coast, apparently with a view to stealing one.

A police party from Waterloo Point arrived at Mr Webber’s, but once again, just missed their quarry.
Lieutenant Bayley reported:
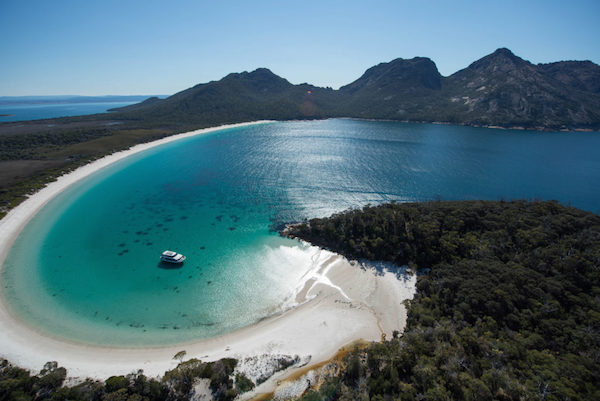
“I was there the same evening … and at this time the Absconders were within 1 ½ miles of my party … I have now been most unfortunate in the weather … we were obliged to put about and run for Hazards Beach, where I spent the night and at this very time the Absconders were in Wine Glass Bay.”
St Helen’s and a Small Pantomime
At this point a message was circulated as far as possible that all the boats on the east coast should be secured. It was hoped the weather would have prevented the escapees from putting out to sea. An armed party was sent by boat from Hobart Town and a mounted policeman was sent to Great Swanport (Swansea).
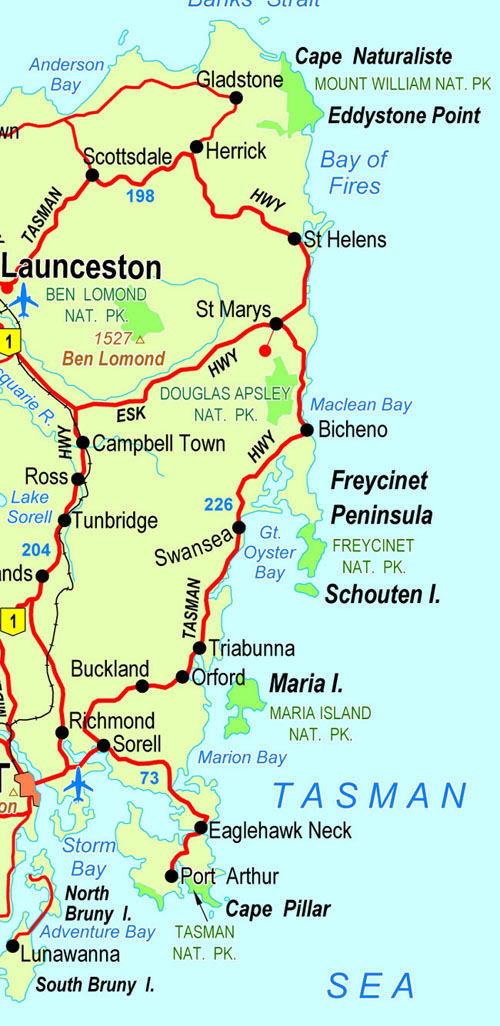
On 5th April, the runaways called in at what is now St Helen’s and robbed the house of Mr Davis at George’s River, just avoiding the “Shamrock”, which had been searching off George’s River only the previous day.
The men were neatly dressed and at first they pretended to be an officer and crew from the “Isabella”. It appears they threw themselves into their roles.
“The landing place being Muddy, one of the Men said to the sitter ‘I’ll carry you out Sir, if you please,’ he accordingly did so, the remainder of the Men stopping in the boat.” (Mr Davis’s report, in Brand)
The supposed officer was invited to dinner.
“His conduct at table though Vulgar was much above that of the lower Order. He was dressed in a fine blue frock coat, white Jean or Moleskin trowsers and Wellington Boots and white hat, and afterwards put on a Brown Petersham great coat.” (Mr Davis)
At 9 or 10 that night more armed men came into the hut and now they admitted who they were, taking more provisions. Again, the escapees treated Mr Davis with “the greatest Respect, civility and Attention.”
Hardship and Discipline
The men stayed most of the night, telling Davis tales of their adventures. And now, finally, we get a glimpse of how arduous and dangerous their journey had been, and of the levels of discipline required to survive it. They spoke
“… of their having experienced a very heavy gale of wind accompanied by a heavy Sea which at one time nearly Swamped them off the Friars … They said they had been at a place where there was a puncheon of [grog] and not one of them had taken sufficient to affect him in the least, that they were aware that their Safety consisted in their sobriety and unanimity.”
“… the boat was much cut up with Shot. At one time they nearly lost her as she Struck upon a Sunken Rock with such force as to knock four thawts (sic) out of her, and nearly the whole of the Crew.”
When the men left Davis the next morning, they took a “Chart of the Straits”. They were in good spirits, and feared only the small arms of the Eliza. Having an abundance of arms already in the boat, they left Davis with all his own guns.
To be continued in Part IV
References and Further Reading
Alexander, Alison (2010), Tasmania’s Convicts: How Felons Built a Free Society. Crow’s Nest, NSW: Allen and Unwin.
Brand, Ian (1991), Escape from Port Arthur. Launceston: Regal Publications.
http://www.utas.edu.au/library/companion_to_tasmanian_history/P/Port%20Arthur.htm

Leave a comment